


Some clients prefer products without added fragrance, so I appreciate having an unscented glue balm in my lash lift kit. The balm format is also convenient when I’m placing lashes along the shield.
Getting lashes neatly onto the shield is one of the fiddliest parts of a lift. I like the tacky balm texture because I can work through the lashes section by section without feeling rushed.
The slim bottle and pointed tip make it clear this powder is meant to be added with care. It’s the kind of small supply I’d want to keep close when preparing a lift service.
For a product I’d add gradually while mixing, the pointed nozzle caught my eye. It looks easier to control than pouring powder straight from a wide opening.
I like that the perm, setting, and lash nourish packets are numbered clearly. When I’m laying out a lash lift service, being able to identify each step at a glance is helpful.
The nourishing gel is what caught my attention. I appreciate seeing a finishing step included alongside the lift products rather than having to look for it separately.
I like being able to see the two treatment steps, nourishing gel, brush, and shields together. It makes this kit easy to review when I’m planning what I need for lash lift appointments.
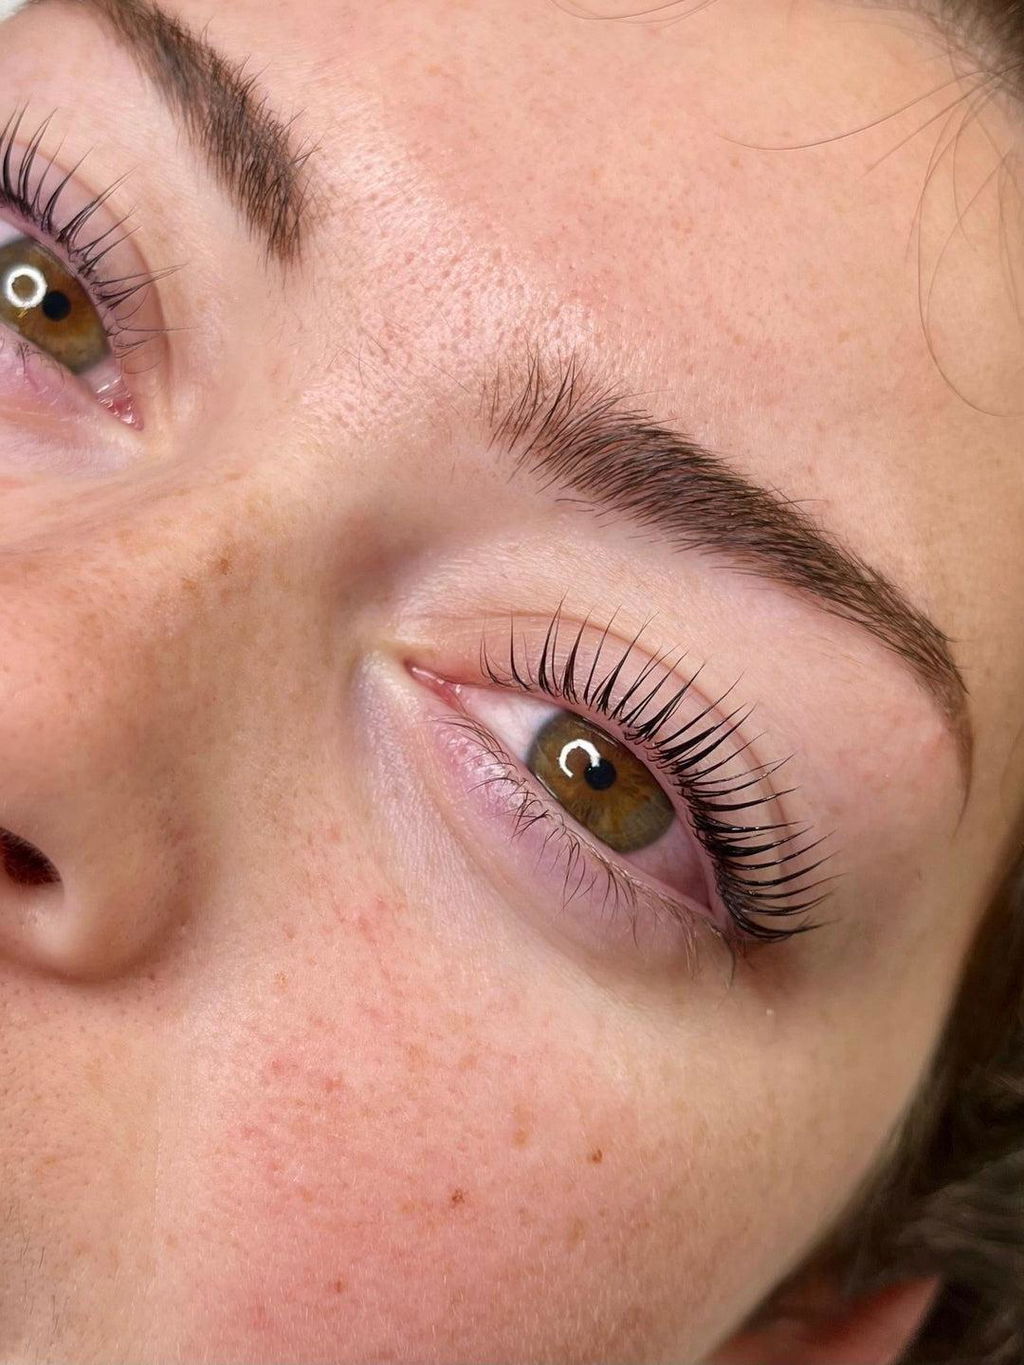
I prefer an adhesive that gives me a moment to place the extension before it sets. The listed one-second drying time makes this one worth considering for my workflow.
The 0.3-second setting time is appealing for my work style, and the small bottle is easy to keep at my station. If it performs consistently in my lash room, it’s the kind of glue I’d reorder.
The quick setting time is the main reason this glue stands out to me. For an experienced artist who works quickly, it makes the application flow feel smooth.
This glue works well with my faster pace. I like that I don’t have to wait long before moving on to the next lash, and it’s one I’d keep stocked at my station.
The sample fan looks evenly spread, with a defined base. That shape caught my eye because it would suit the textured volume looks my clients often ask about.
I like having different diameters available when planning a set around a client’s requested look. This 0.03mm Cashmere Lash would be an option to discuss for fine, feathery volume.
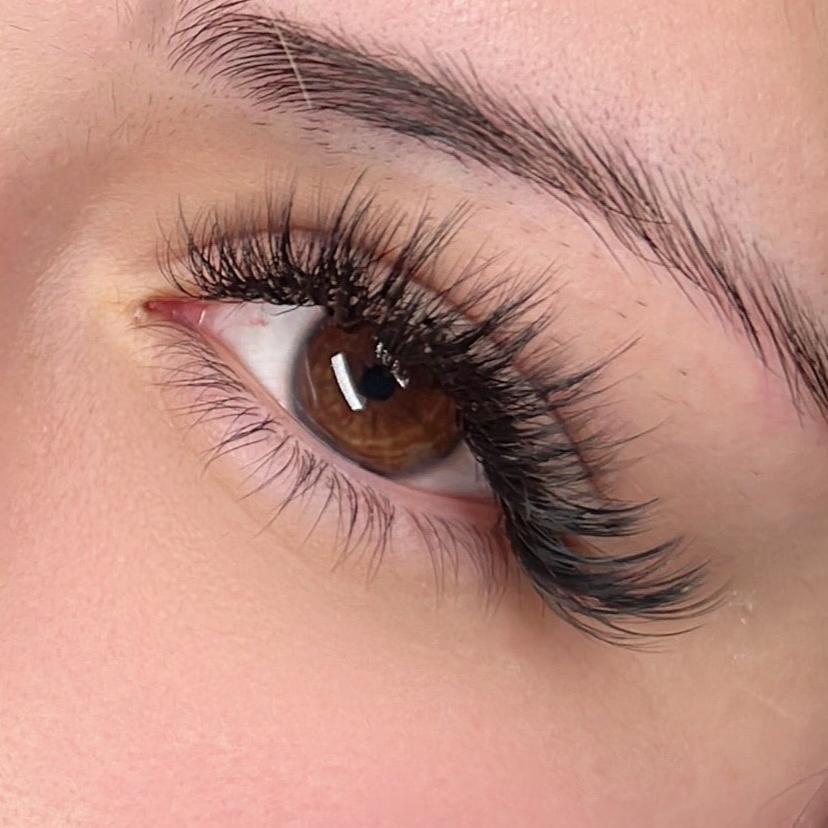
The 0.03mm diameter is what caught my attention. I’d consider this for a volume set where I want a fine, airy appearance rather than a dense finish.
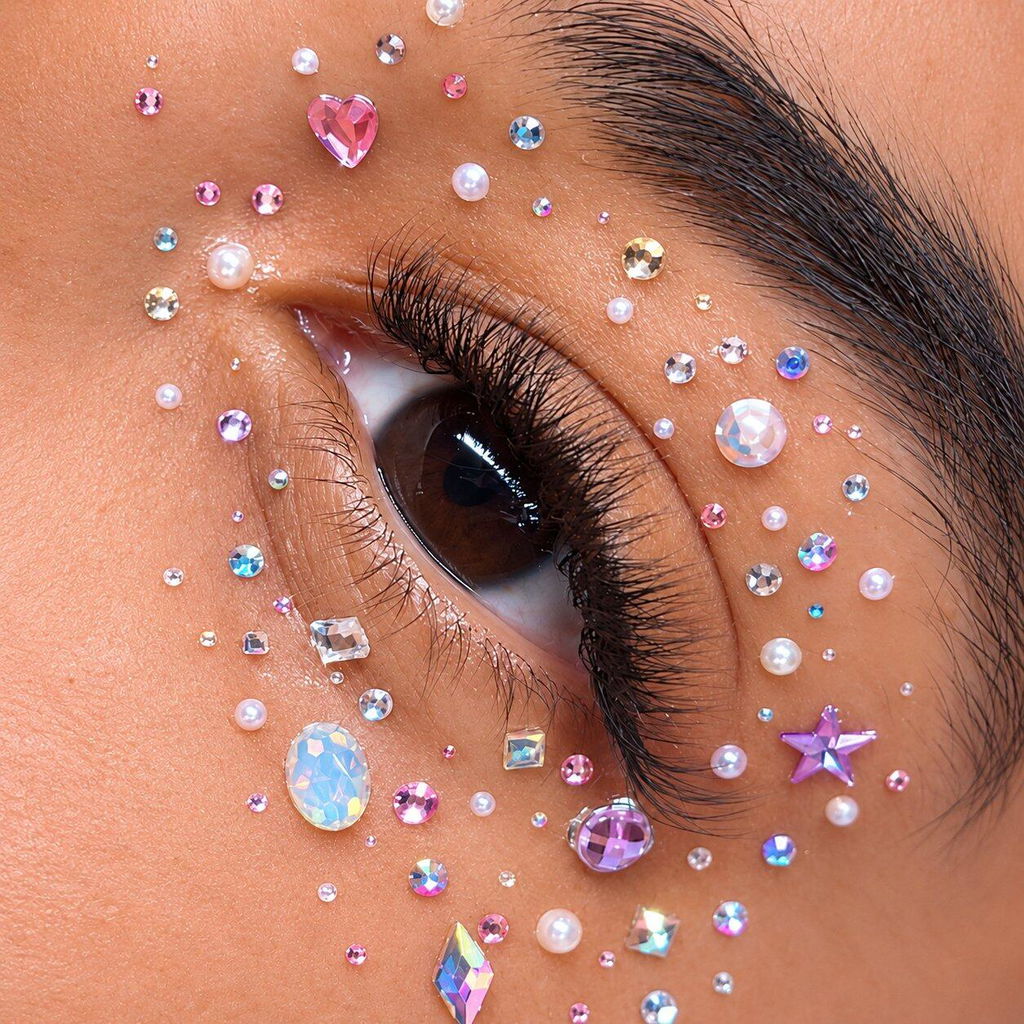
The U-shaped fan is what caught my attention. I’d use this style for a client who asks for a defined lash line with a softer finish than a dramatic volume set.
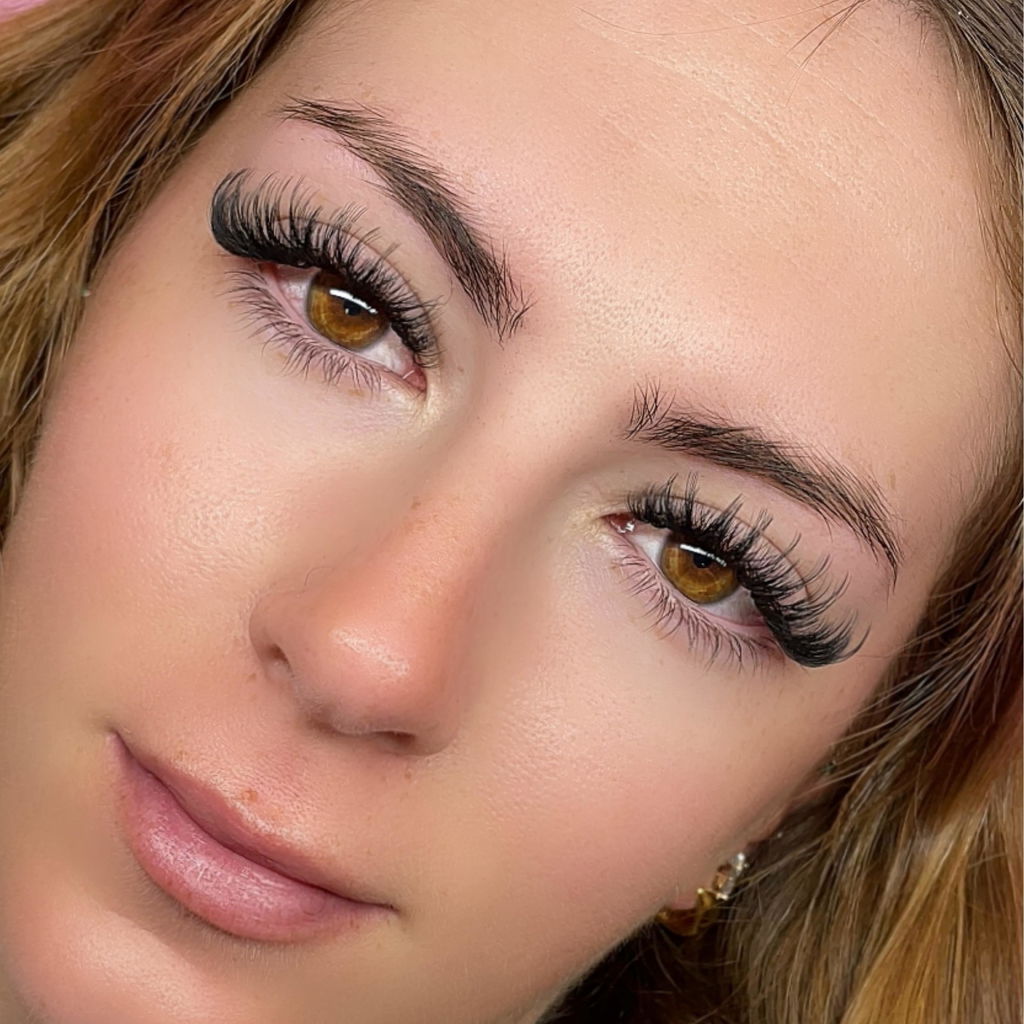
The green drawer box looks fresh and makes this tray easy to spot among my supplies. The rows are visible when it’s open, which is helpful when I’m comparing lash styles.
I’d choose these when a client asks for noticeable volume but doesn’t want a very bold set. The W shape adds texture that looks pretty across the lash line.
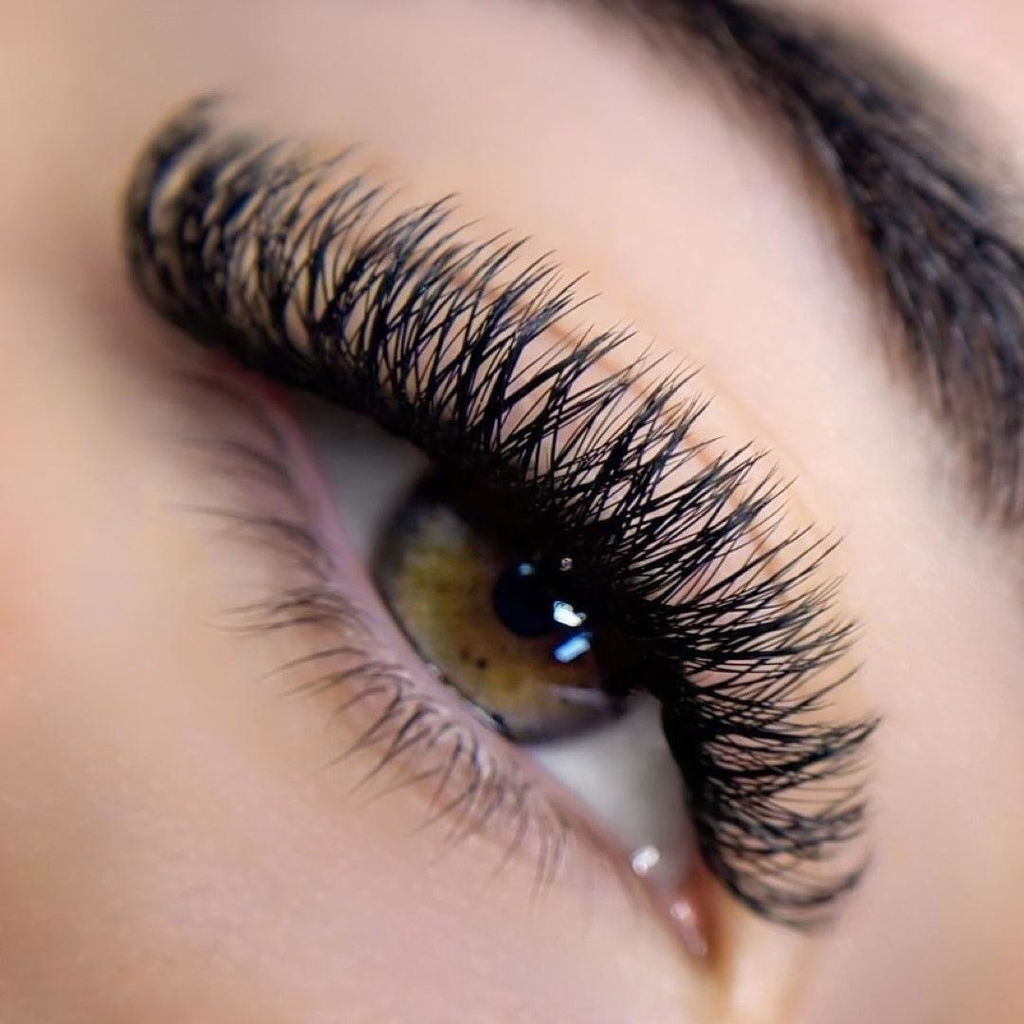
The 5D W shape is a good option for clients who want a fuller lash line while keeping the set soft and wearable. It gives me a different look to offer beyond classic lashes.

I’d consider these for clients who bring in photos of full, wearable lash sets. The YY shape adds visual fullness while keeping the finished style soft.
This is the kind of style I’d suggest to a classic lash client who wants to try something fluffier. The difference is noticeable, but the look is still easy to wear.
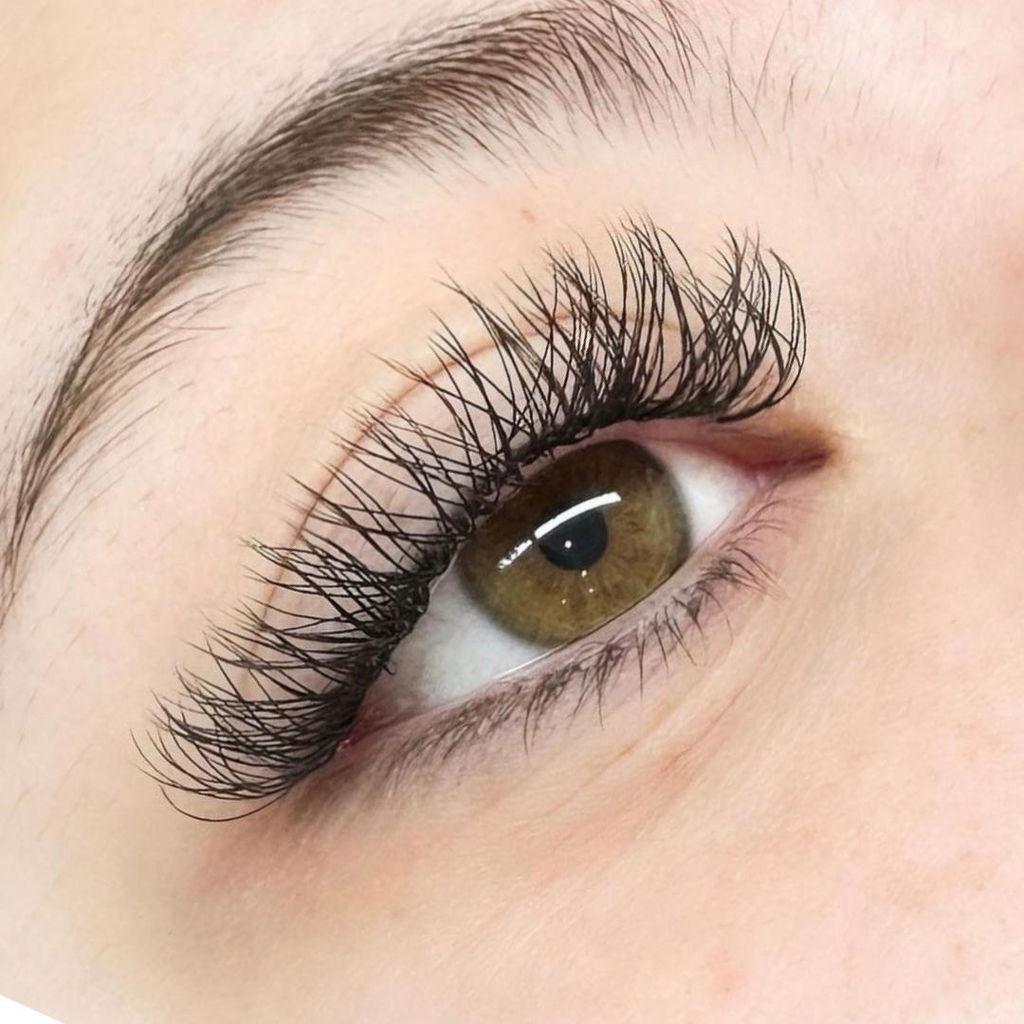
I like the YY shape for clients who want a little more fullness without going too dramatic. It adds texture to the set while keeping the overall look soft.
Calidad excelente y encantada con sus empaques, llegó bastante rápido
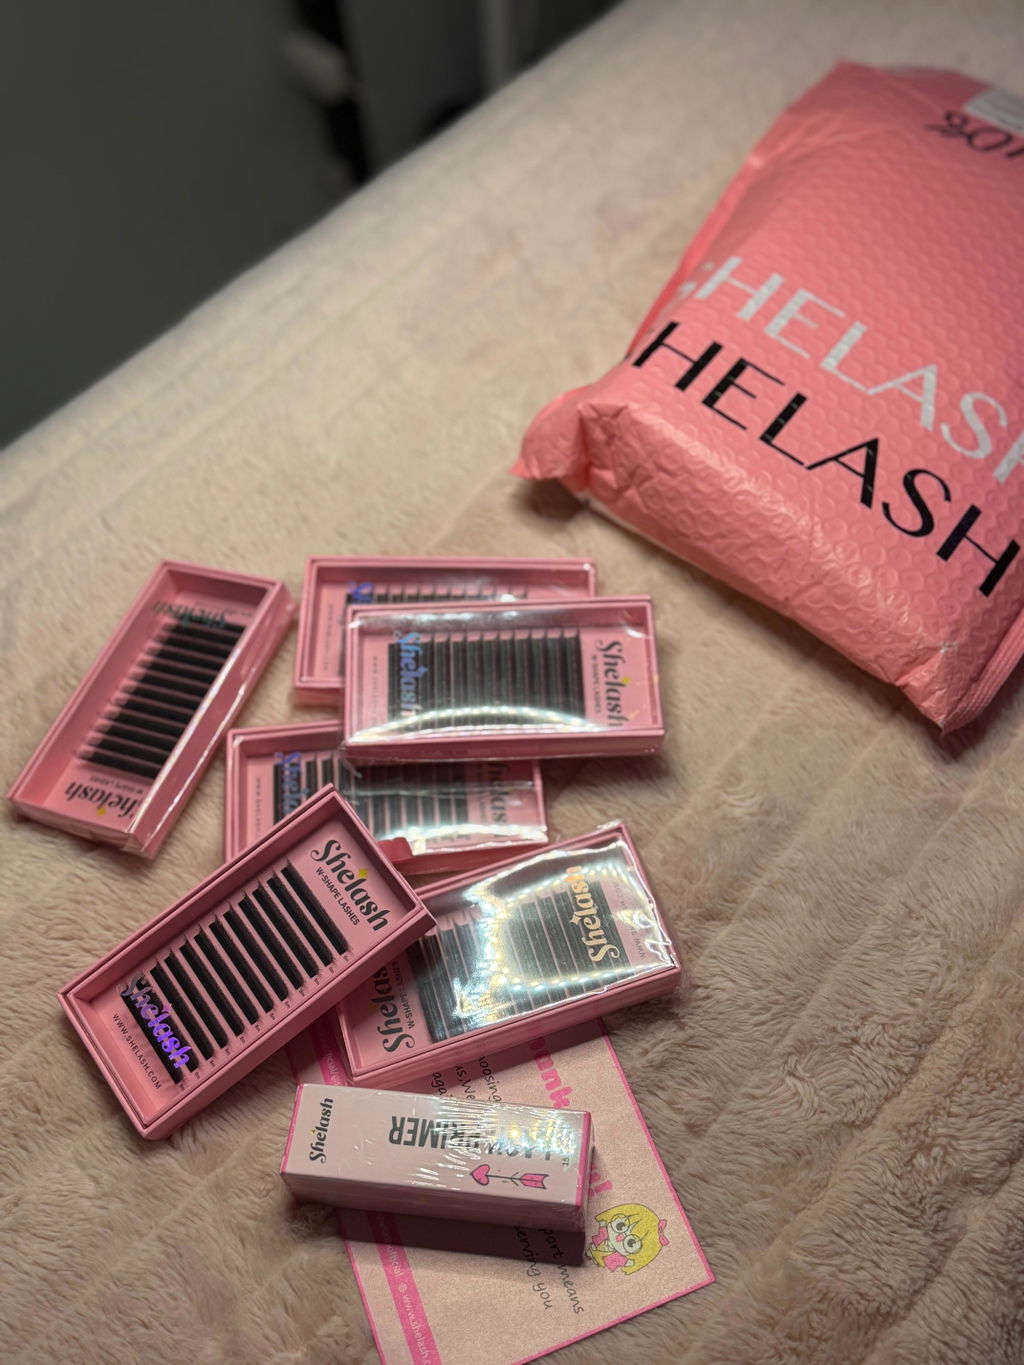
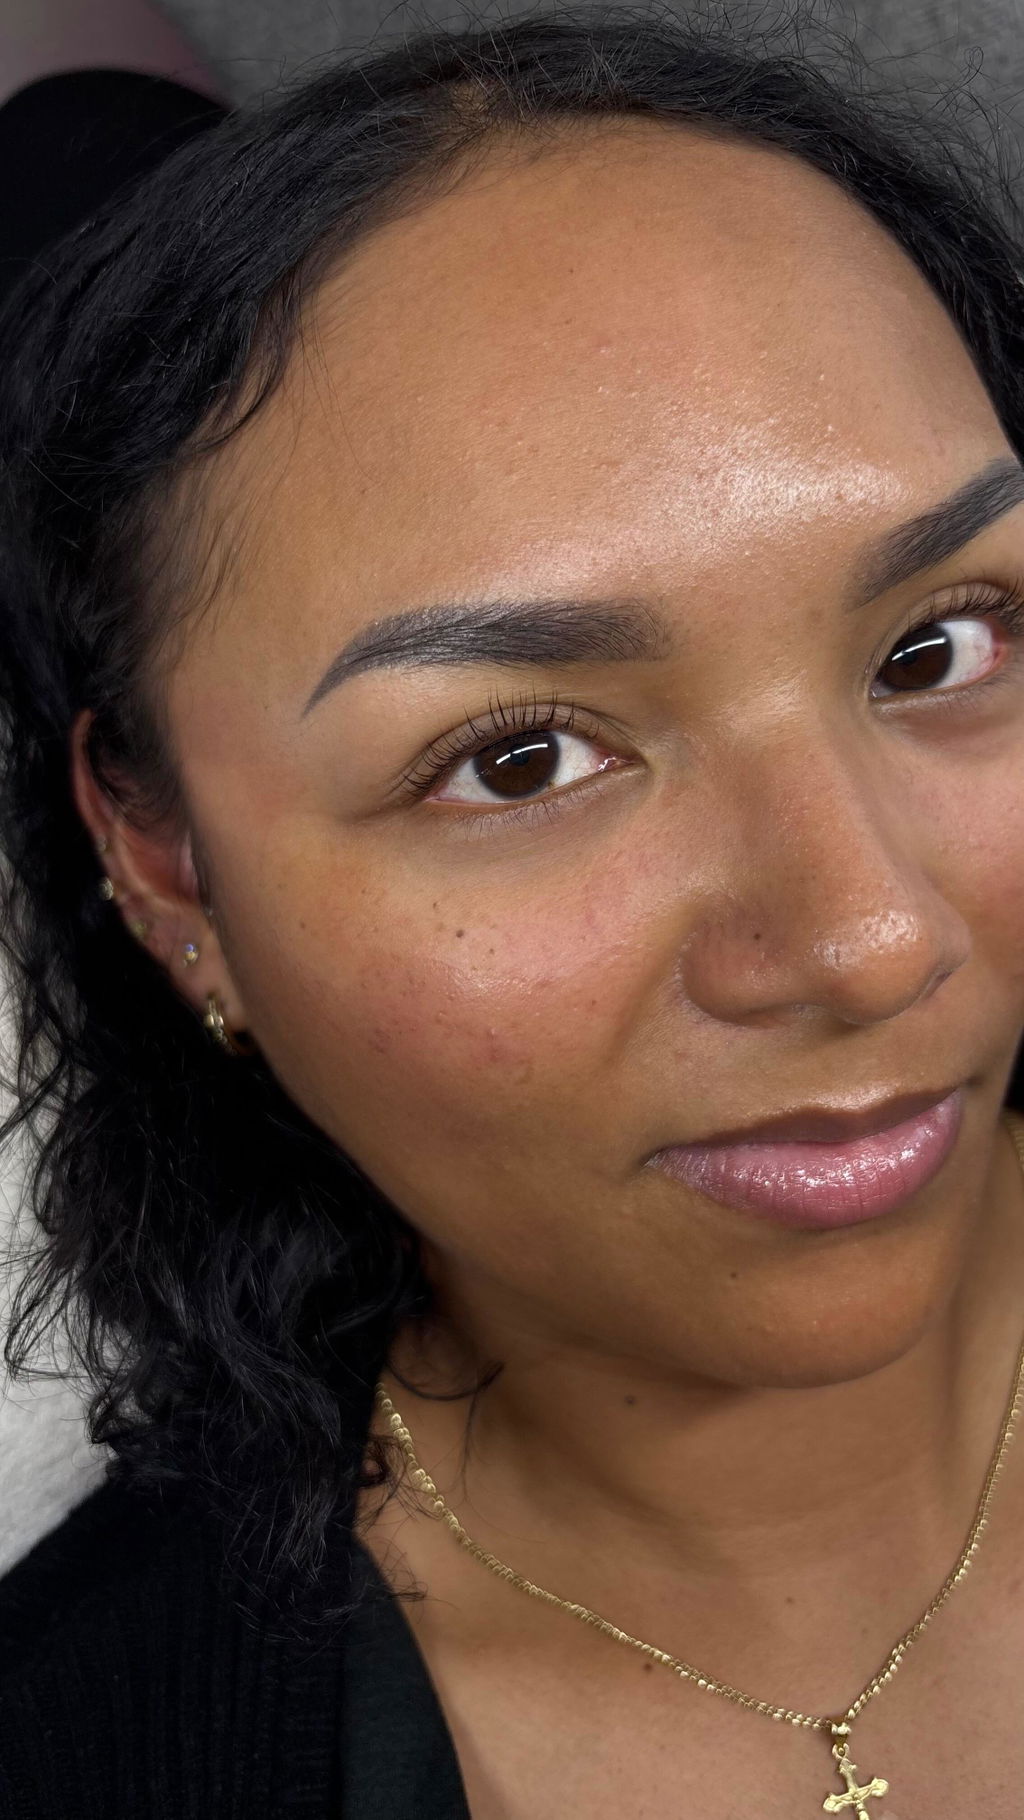
Lift time is 8-12 minutes. Most clients are ready at 9 minutes! Love this set!
This is the bottle I grab when I want to slow down just enough to really focus on clean placement. No panic, no extension curing before I’m happy with where it is 😂 Just enough working time and then I’m onto the next lash. Simple, reliable, LOVE.
Why did I wait so long to try this?! I usually reach for my faster glue but grabbed this on a slower day and ended up loving the control. My bases looked SO clean because I wasn’t rushing my placement. Already moved it from my backup drawer to my everyday cart.